Hard Lessons from Life on the Farm

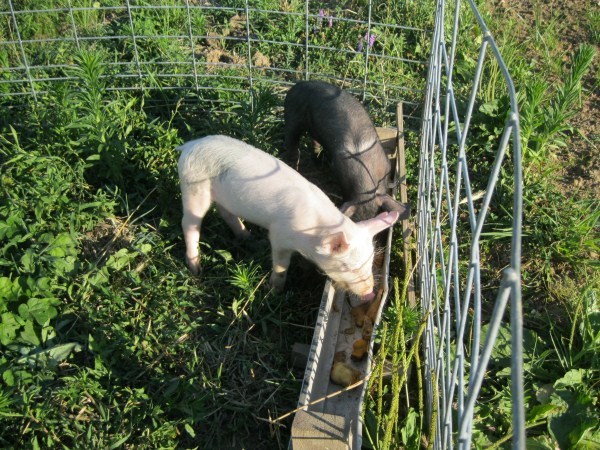
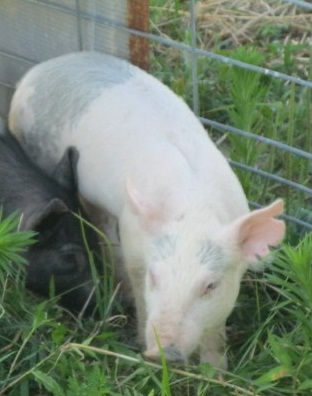
white pigThis past week after several days of 100 plus heat and drought we awoke Saturday morning to find one of our new pigs dead. This was a tough sight for our kids to see as they had grown fond of the little white pig.

These are the hard lessons learned as we live life on the “farm.” The kids learned another valuable life lesson about responsibility, vigilance, the need for watchful care in stress conditions and how one day on the farm can mean life or death.

As hard as this lesson was, once again, experience is the greatest teacher. They will know for the future to take these situations very seriously and ensure proper care is given.

For our remaining pig, they have learned now to check on the pig throughout the day during these hot days and spray him down with cool water to keep him from overheating. They have also learned to ensure plenty of cool fresh water is available for drinking.

It was a sad day. Not only did we lose the pig and the expected meat, but also the money invested. However, the lesson learned was invaluable.

What valuable lessons have your kids learned on the farm?

Posted in Farm Animals | Tagged , , , , , , , , , | Comments Off on Hard Lessons from Life on the Farm

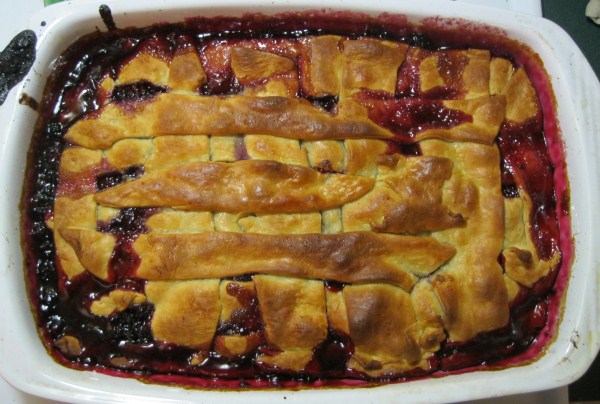
Wild Blackberry Cobbler

Blackberry Cobbler

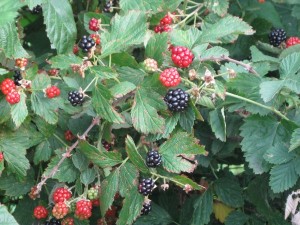
The Blackberries are here!!!!!

blackberries up close

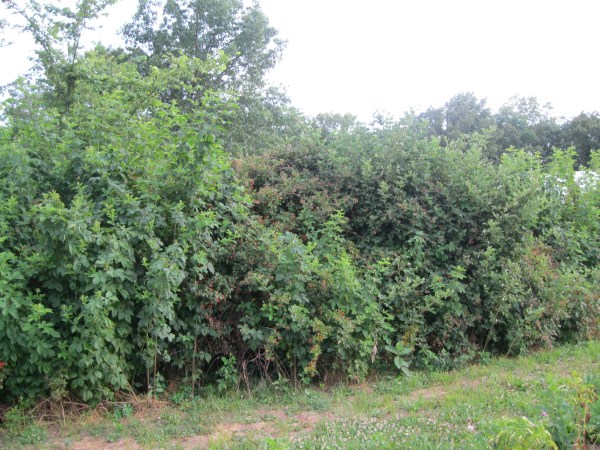
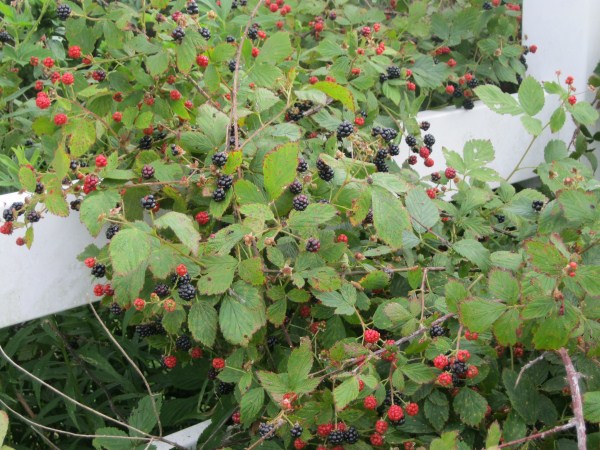
Our family has been enjoying this year’s crop of blackberries. Our back fence line is covered with lots of bushes and the children have been gathering berries every few days. Here is one of our cobbler recipes:

  • ¾ gallon of washed berries
  • 3 C sugar
  • 1 stick butter
  • ½ C baking mix (we use Bisquick)
  • 2 pie crusts (we used Pillsbury rolled crusts)

Mix berries with sugar and baking mix and place in deep dish 9×13 pan. Top with sliced butter. Cut pie crusts in strips and place on top. Bake at 425 degrees for 40-45 minutes or until berries are bubbling through the crust. Top with vanilla ice cream and serve warm. Yum Yum.

We also tried Paula Deen’s Slow Cooker Berry Cobbler and it was wonderful.

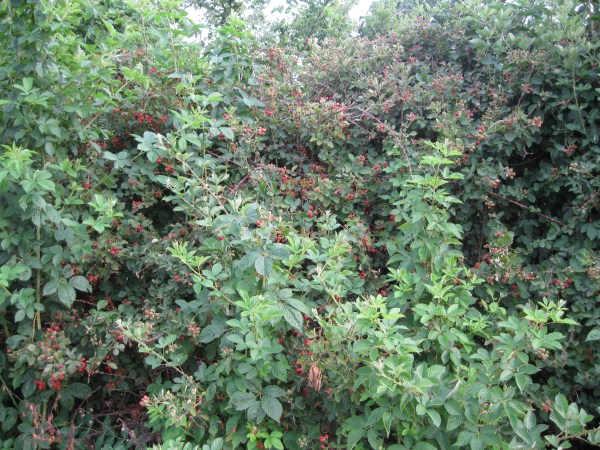
Below are some pictures from our wild blackberry patch that make the lip-smacking cobbler.

wild blackberry patch


blackberries galore


blackberries ripening

Do you have a blackberry patch?  I would love to hear about some of your favorite blackberry recipes!

Posted in Recipes | Tagged , , , , , , , , , , , , , , , , | Comments Off on Wild Blackberry Cobbler

Pigs In The Garden


Our new feeder pigs

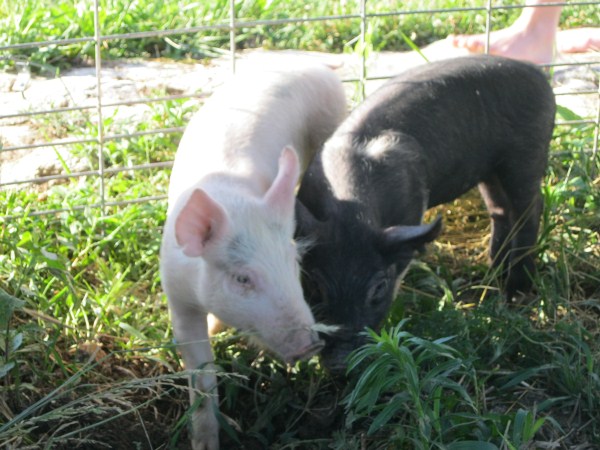
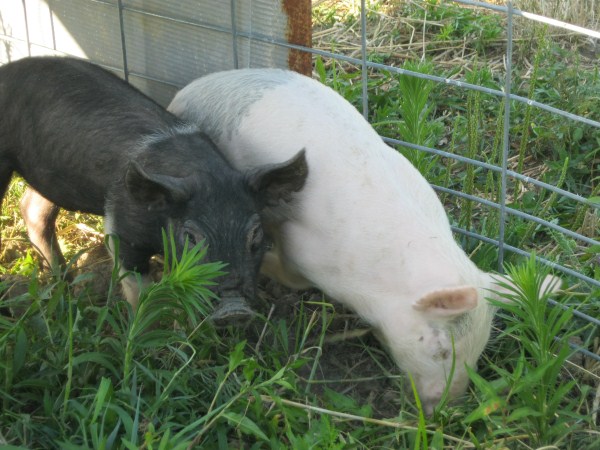
This year we’ve decide to feed out our own pigs for butcher. Last week we purchased two feeder pigs from our friends the Traynor’s. Feeder pigs are young pigs weighing around 30 to 45 pounds and are fed out for slaughter. The pigs we purchased weigh around 30 pounds and were born around April 1. We plan on feeding them out to about 220 pounds. They should be ready to butcher in November.

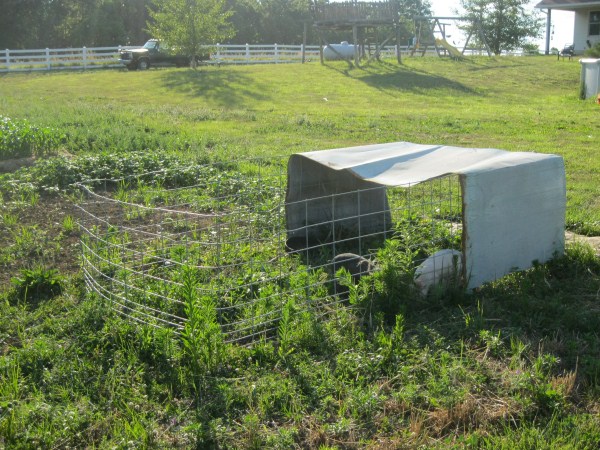
In keeping with incorporating permaculture practices on our min-farm, we made a moveable pig pen a few years ago for our first pig. I’m putting the pen in an area of the garden that I’m trying to improve the soil. The young pigs will really go to town rooting up the dirt and eating the vegetation. I currently have them in the area where I worked-in this spring’s winter rye and hairy vetch.

The pen is made from two hog panels with each bent into an “L” shape and wired together to form a rectangle. I call it my “pig tractor.” Pigs need shade from the sun to protect their skin which will sunburn. They also need some shelter from the elements. The picture shows a covering I put on one end of the pen. I am planning to add additional cover on the pen as this one section does not quite provide enough shade.

I will move the pigs around the garden area about every 2 or 3 days. They’ll have the whole area dug up in no time leaving their fertilizer behind them to enrich the soil. Just another way to have the animals do the garden work for me while preparing our meat for the future. When they get older, I’ll position them in a more permanent spot until butcher.

pig tractor

two little piggy's

pigs eating slop

Have you incorporated pigs into your homestead or mini-farm?


Posted in Farm Animals, Gardening | Tagged , , , , , , , , , , , , , , , , | Comments Off on Pigs In The Garden

CHEF Confrence Day Two Business Training

Tuesday was another great day at the Christian Home Educators Fellowship (CHEF) of Missouri conference. This day we spent learning again from Wade Myers, Kevin Swanson, Dr. Paul Jehle and Chuck Bentley.

In Tuesday’s session by Wade, he wrapped up his business training by walking us through the key steps of identifying and developing an effective business model. A business model is basically a framework of a description of the customers your business serves and how you serve those customers. Wade described the five areas of a business model and some key factors to assess how effective your business model is in each area.

The five components included:

The industry you are in such as agriculture, technology, health care, etc. Some industries are better than others. Ideally, you want to participate in growing industries or segments of industries that are growing.

The financial structure of your model including items such as total investment required, fixed asset investment, cash-to-cash cycle (faster is better), breakeven timing, gross margin ranges and earnings multiple ranges…some pretty technical business stuff in this part of the presentation.

The operational risk of your model considering risks such as labor pool availability, intellectual property challenges, the repeatability of your business to generate residual revenue versus always having to recreate the delivery process as in custom work, and scalability. In agriculture, we have a lot of operational risk due to reliance on weather, challenges with maintaining animal health and pests and predators. Wade really likes non-custom software operations due to their high repeatability factor.

The product or service aspects of your model. Can you easily identify the unmet needs of your customer? Do you have a long development time frame? Can you automate routine tasks? How does your quality, service and price compare relative to your competition. Is your product perishable? Answers to these question can either increase or decrease risk in your offering. In agriculture, our perishable product offering increases risk significantly, for example.

And finally, the Customer aspect of you model. Do you know when your customer buys? What is your sales channel (i.e. farmers markets, web, distributors, etc.)? Are there other substitute products that compete with your offering? How easily do you have access to the decision makers who will buy your product? How long is the sales cycle of your model?

Over the two days of the conference, Wade gave our whole family some excellent training as we seek to grow and develop small business ventures from our country homestead. If you would like to know more about resources provided by Wade and his team, I recommend you become a member of New Venture Lab.

If you check out his site, let me know what you think by posting comments here.
 

Posted in Family, General, Homeschool | Tagged , , , , , , , , , | Comments Off on CHEF Confrence Day Two Business Training

Strong Family Businesses, Strong Nation

What a great day we spent on Monday at the Christian Home Educators Fellowship (CHEF) of Missouri conference. It was an excellent day of information-packed wisdom to continue to prepare our family for having a greater beneficial impact for our community and nation both now and into the next generations.

We learned from many seasoned leaders yesterday and will learn more today. One highlight for our entire family was attending three sessions by Wade Myers at New Venture Lab on developing entrepreneurial family businesses. I strongly believe that developing strong, god-fearing businesses will provide the catalyst for bringing our country back to prosperity.

A key reason for us moving to the country was to provide an environment for our children to develop entrepreneurial skills and thinking like our fathers many years before us. The lessons learned on the farm of hard work, risk and reward, service to others and reliance on God for provision are the seedbed principles for strong businesses, strong families and strong nations.

Through Wade’s vast experience in starting, running and growing many businesses with both successes and failures, we came away from his sessions yesterday with a treasure trove of ideas and action steps to help us along our way. Some of the key lessons from Wade included:

  • Rely on God’s providence then…
  • Prepare diligently (don’t just go into a business venture half-cocked…it will likely fail).
  • Be prepared for opportunities.
  • Work on perfecting your business model which includes knowing your industry, customers and product/service and developing good financial and operational plans. In developing your business model, be “approximately right rather than precisely wrong.”
  • Always start with the customer: what they need and address their pain points. Don’t start with what you want to offer; start with what the customer needs.
  • Attack the negatives of existing products or services and solve these for the customer.
  • Never build infrastructure where capacity already exists.
  • Don’t try to change customer behavior. It is difficult to do and will likely fail.
  • Be different, not just better. Fill in the statement: “We’re a lot like so and so, but different in this way… (list the five or six way different).” But don’t be so different that the customer doesn’t get it!
  • “Fire adjust, fire adjust…” instead of “aim, aim, aim.…” Work towards the bullseye.
  • Always focus on the customer.

These were just a few of the excellent lessons Wade taught on Monday.  And we learned a whole lot more with more to come today.  For further support, Wade has some really good tools on his New Venture Lab website to help you started in business or improve an existing business.

What types of businesses have you started and what key points of wisdom would you suggest?

Posted in Family, General, Homeschool | Tagged , , , , , , , , , | Comments Off on Strong Family Businesses, Strong Nation

Homemade PVC Irrigation System

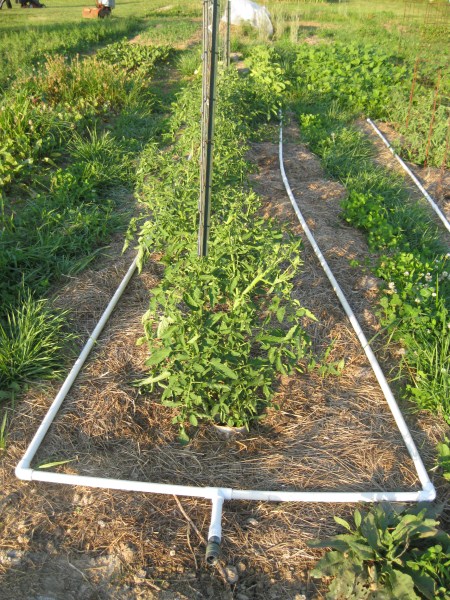
PVC irrigation - full length view

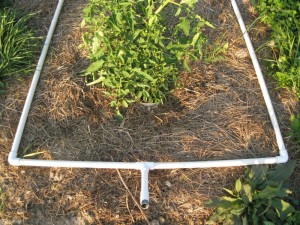
It has been really dry this year in our area so I’ve had to get out my homemade PVC irrigation system. This system works very well and is relatively inexpensive compared to regular drip irrigation setups. It works especially well in my rectangular four foot wide, twenty foot long wide-row beds.

PVC irrigation - around tomato plants

I use the PVC irrigation system mainly for the tomato plants as these are the prize of our garden. The system works equally well for cucumbers, cantaloupe, beans, corn and larger vegetable beds. The system is easy to setup and break down at the beginning and end of the season. It is also easy to reconfigure as needed and move around the garden.

Here is the parts list. You can find all parts at a home warehouse store.

Parts list:

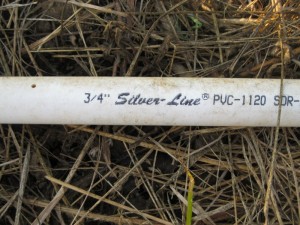
  • 3/4” standard PVC pipe (I use 10 foot lengths)
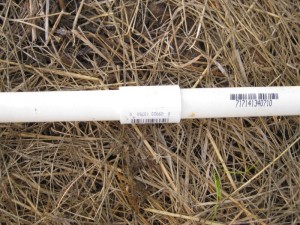
  • Slip couplings (used to connect pipe lengths)
  • Slip 90 degree elbows
  • Slip T fittings
  • Slip caps (used for the end of line)
  • Female adapters both slip adapter and garden hose adapter

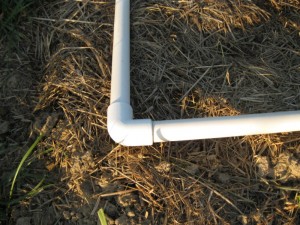
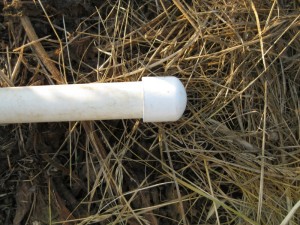
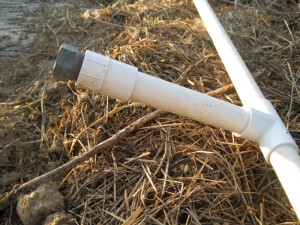
Below are pictures of the various fittings.

PVC irrigation - slip coupling

PVC irrigation - elbow

PVC irrigation - slip cap

PVC irrigation - female garden hose adapter and slip adapter

Tools needed:

  • Drill
  • 3/32” drill bit
  • Pliers or wrench to screw in garden hose adapter

Initial steps to prepare system:

  • Cut pipe lengths for connecting long lines to each other according to your garden configuration. I have several different lengths depending on how I want to connect the long lines
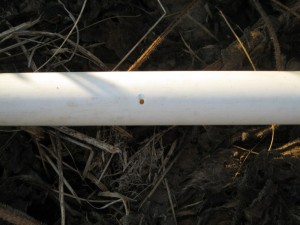
  • Drill 3/32” holes in the long lines about 8 to 12 inches apart down the length of the pipe. I mainly use 12 inch spacing.
  • Slip on caps at one end of pipes that will be the end of the line.
  • Slip on couplings, tees, elbows and garden hose adapter based on your configuration setup.

PVC irrigation - pipe size

PVC irrigation - hole size

PVC irrigation - connecting configuration

That’s it! Pretty simple.

For the fittings, you can just slip these on by hand and they don’t have to be super secure since there won’t be that much pressure on the system.

Once you have your system set up in the garden, connect your garden hose to the adapter. Remember to point the holes in the pipe down toward the soil. On the end of the garden hose, I put a valve fitting to easily regulate the amount of water flowing through the system. I like to have a slow soaking flow to ensure deeper watering of the soil.

What kind of irrigation systems do you use?


Posted in Gardening, PVC Irrigation | Tagged , , , , , , , , , , , , , , , | 14 Comments