Chicken Tractor

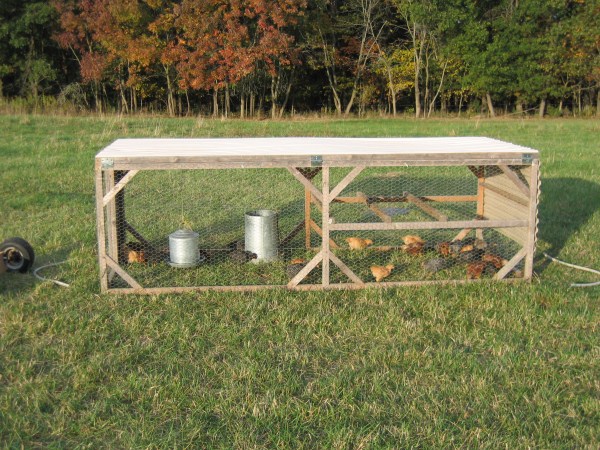
chicken tractor in the field

After spending some time at the Brown’s and seeing Ryan’s chicken tractor, I thought I would write a post about another of my favorite country living books, “Chicken Tractor, The Permaculture Guide to Happy Hens and Healthy Soil” by Andy Lee and Pat Foreman.

This is a great, fun book for those wanting to incorporate chickens into their garden and soil building plan. Andy and Pat provide very practical steps and advice on how to grow healthy chickens and improve your soil at the same time. They also include examples and steps on how to build various types of chicken tractors.

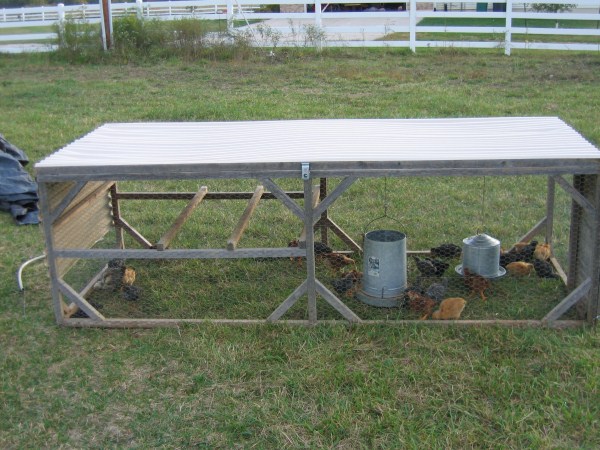
I built my first chicken tractors using his rectangular design. The tractors are four feet wide, ten feet long and three feet high. They include roosts for laying hens and support to hang a feeder and waterer. This size of the tractor accommodates about twelve full grown laying hens. I also added a three-compartment modular nesting box that can be removed when needed.

chicken tractor setup

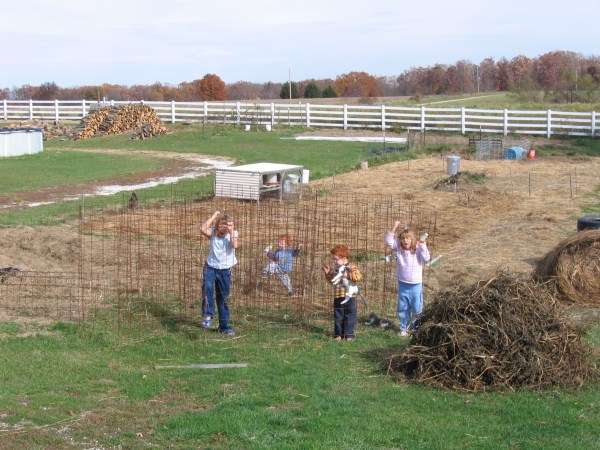
I used this design originally to create my garden space which consists of many four-foot wide, twenty-foot long wide-row permanent beds. The chickens would scratch up the sod and weeds, eat the weed seeds, deposit fertilizer and prepare the beds for additional cultivation. We also used the tractors in other areas around the homestead.

chicken tractor in garden when kids were young and having fun

This design works very well. The only drawback is that it is a little heavy and cumbersome to move. One person can move it with a rope and skids if there is not any additional bedding in the tractor. If I am building a deep mulch bed—as explained in the book—it takes two people to move the tractor so as not to disturb the bedding.

Have you ever used chicken tractors? What are some of your designs and uses?


Posted in Farm Animals, Gardening | Tagged , , , , , , , , , , , , , , , | Comments Off on Chicken Tractor

Harvesting Garlic

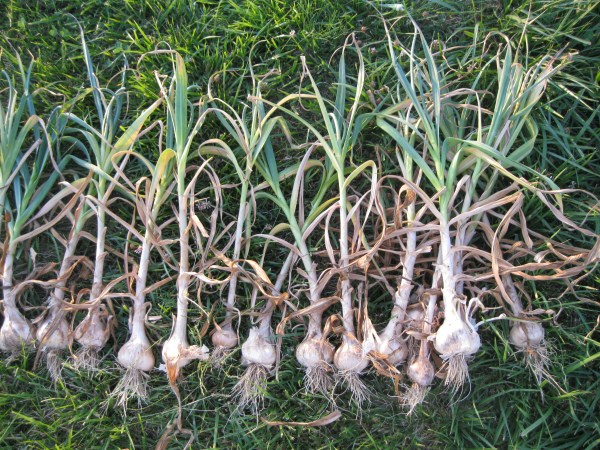
garlic harvest

Yesterday we harvested most of our garlic bed. We have had very little rain this spring and the garlic has come in much earlier than normal–usually late July. The bulbs still appear to be very healthy with many large heads and I expect they will store nicely.

garlic bed ready to harvest close up

I harvest garlic when the lower level leaves turn brown and die out with the top leaves still green. You can see that these are ready. Some even are a little past the harvest time. If you let all the leaves die out before harvesting, the bulbs will generally split and lose their leaf sheathes. Once they lose their leaf sheathes, fungus disease will have likely made its way into the cloves. These will not store.

Upon harvesting the garlic plants, I let them dry out in a shaded, open area for several days to cure the bulbs for storage.  Try to avoid direct sunlight when curing as this can damage the bulbs.  I know the plants are ready for final processing when all the leaves are dry and all moisture is gone from the stem.

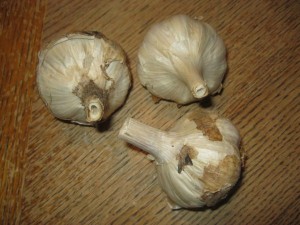
cured garlic bulbs

Once the garlic plants are dry, I cut the stems off about an inch from the bulb and cut off all the roots. I then store these in the kitchen in a milk crate for use throughout the year. You can store them in any cool, dry place. Some folks don’t cut the stems but braid them and store them hanging somewhere in the house.

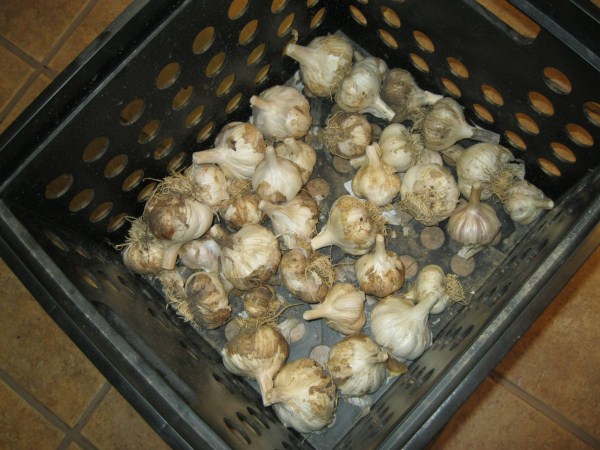
Below is a picture of the remaining bulbs we are using from last year’s harvest that are still good.

garlic bulbs in milk crate

What are some of your garlic harvesting and storing tips?


Posted in Gardening | Tagged , , , , , , , , , , , , , | 1 Comment

A weekend visit to “A Little Land–A Lot of Living”

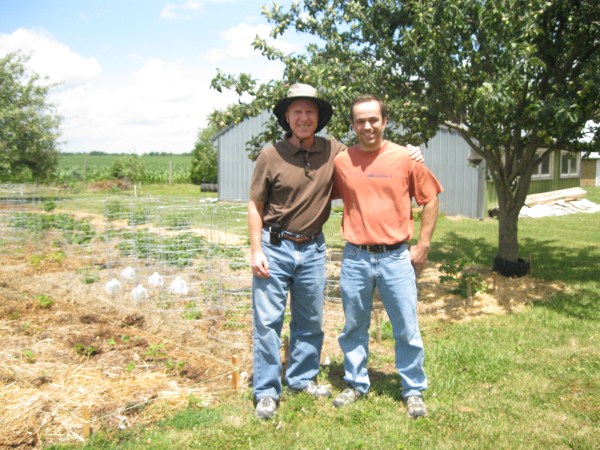
Me and Ryan Brown

This weekend we had the pleasure of spending time with our friends Ryan and Collyn Brown. They live on a small homestead (a few acres) in Illinois and are beginning their work in developing the productive space. They are fortunate to have an excellent foundation to build from as the former owner had spent many years developing the fruitful production of the home site.

His plan comprised of lining the fence parameter with fruit, nut and evergreen trees and a 40 to 50 foot permanent asparagus bed. The trees in the parameter include several varieties of apple, cherry, walnut and chestnut.

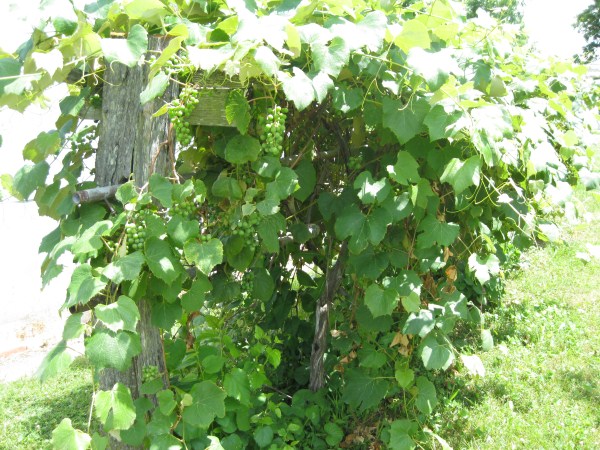
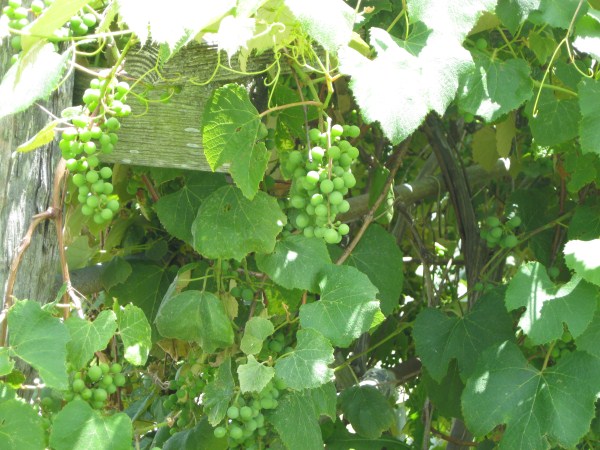
The front yard adds more walnut and some very large pecan trees. Within the middle yard area, additional plantings of plum, pear and apple trees are interspersed with a couple of grape arbors.

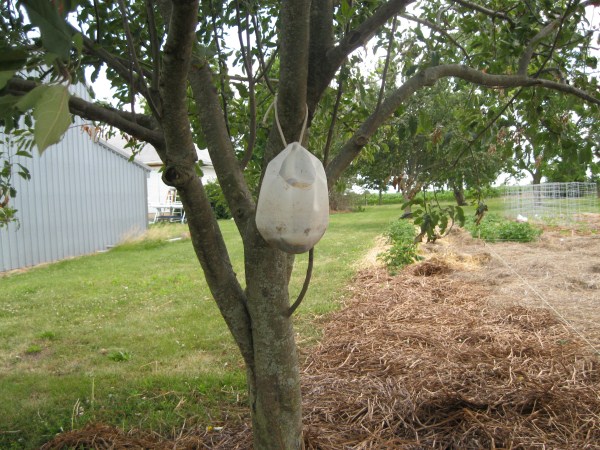
Apple tree with moth trap

Grape arbor

Grapes up close

It was very impressive how well he used the space to create a cornucopia of productivity.

From this foundation, Ryan and Collyn are adding their own touches to the fruitful landscape by planting blackberries, additional fruit trees, starting a vegetable garden and adding farm animals beginning with broilers and laying hens in a chicken tractor.

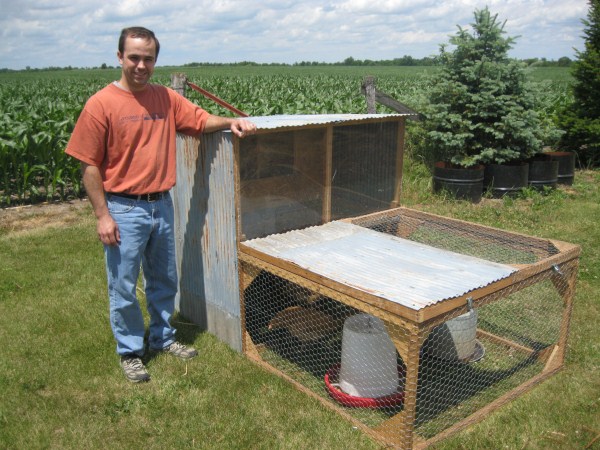
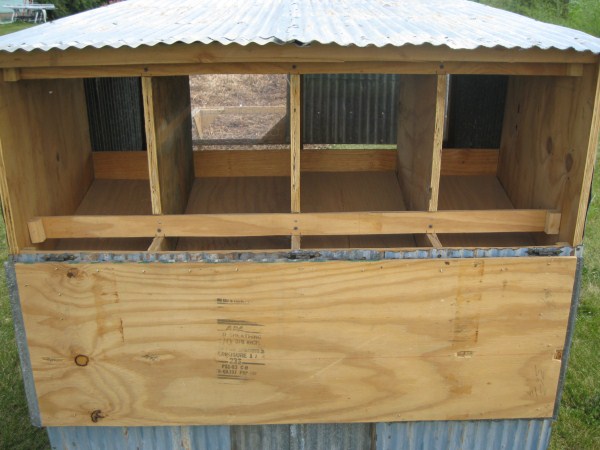
Ryan created his own chicken tractor design. It is very clever and provides easy access to eggs. With some finishing touches still to complete, the tractor is a terrific addition to their small homestead.

Ryan Brown's chicken tractor

Ryan's chicken tractor egg access

They are experimenting with the Weedless Gardening technique based on the writings of Lee Reich. They have laid out their garden plan, set the markings for 40” wide beds with 18” pathways, laid down and wetted newspaper and put a top layer of mulch using rye bails and straw mulch. They’re off to a great start and I look forward to reporting on their progress using this method.

Brown weedless garden

The Brown homestead is an excellent example of utilizing a relatively small space very effectively, by building on what is already present and expanding from there to create a vibrant, life sustaining permaculture.

It reminds me of one of my favorite books written more than 60 years ago “The ‘Have More’ Plan ‘A Little Land—A Lot of Living” by Ed and Carolyn Robinson, published by Story Publishing LLC.

My best wishes to the Brown’s and a successful homesteading adventure!


Posted in Gardening | Tagged , , , , , , , , , , , , , , , , , , , | Comments Off on A weekend visit to “A Little Land–A Lot of Living”

Memorial Day 2012

Here’s to all our friends hoping you had a blessed Memorial Day.

Let’s us never forget those who have sacrificed for our freedom and liberty, especially our founding fathers who pledged their lives, fortunes and sacred honor that we may live quiet and peaceful lives in this fertile land.  Most of all, may we never forget the One who gave His life to truly set us free for all eternity.

As we as a nation continue down a course of bondage to debt, frivolity and lustful passions, may we kindle anew the fires of self-responsibility, hard work and true liberty and freedom.

May we join with our founders to reaffirm…

“And for the support of this Declaration [of Independence], with a firm Reliance on the Protection of divine Providence, we mutually pledge to each other our Lives, our Fortunes, and our sacred Honor.”

Happy Memorial Day

Posted in General | Tagged , , , , , , | Comments Off on Memorial Day 2012

Ice Cream Sandwich Cake

cake

Ice Cream Sandwich Cake

This cake is definitely a family favorite! It is very easy to make.


Ingredients:

  • 2 boxes of ice cream sandwiches
  • 2 bottles of whipped cream
  • 1 jar of caramel
  • 1 bottle of chocolate syrup
  • 1 can of nut topping

Directions:

  1. Use one box of the ice cream sandwiches to make a layer in the bottom of a 9×13 pan.

    First layer of sandwiches

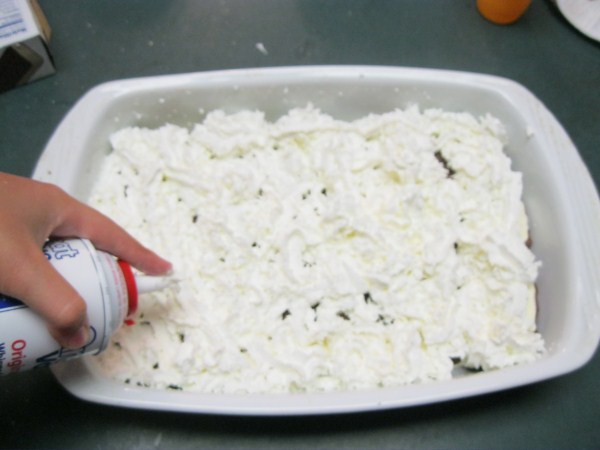
  2. Next, use one the bottles of whipped cream to completely cover the layer of sandwiches.

    cake

    Whipped cream layer

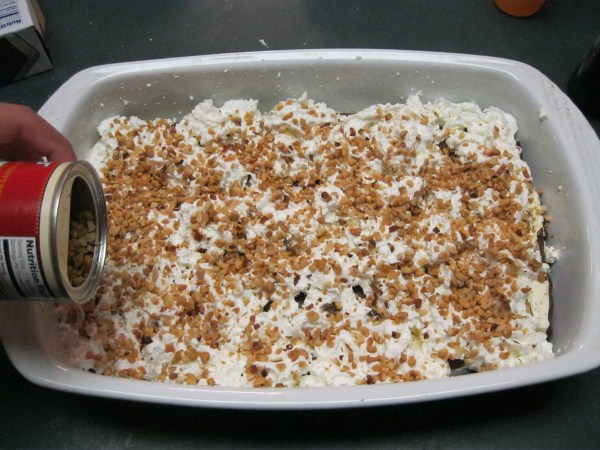
  3. Sprinkle half the can of nuts on top of the sandwiches and whipped cream.

    cake

    Sprinkle nuts on top

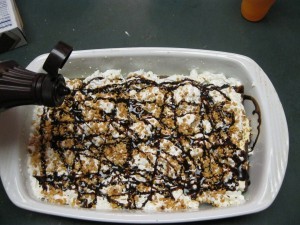
  4. Drizzle the chocolate syrup and caramel over the rest of the ingredients.
    cake

    Drizzle caramel

    cake

    Dizzle chocolate syrup

  5. Repeat the last four steps with the remaining ingredients. Cover with foil, and store in the freezer.

    cake

    Second layer of sandwiches

Posted in Recipes | Tagged , , , , , , | Comments Off on Ice Cream Sandwich Cake

How to Make Strong Tomato Cages

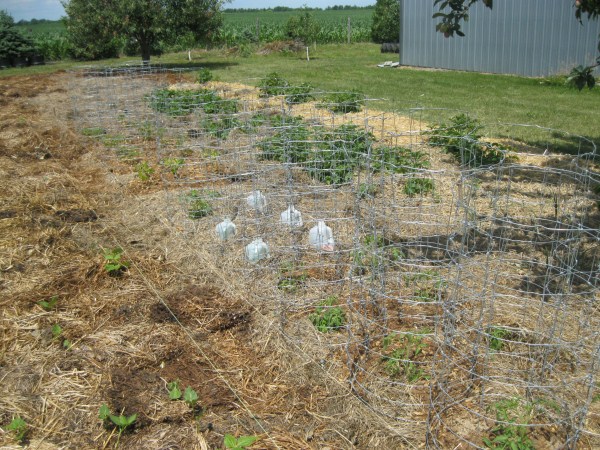
Now that your tomatoes plants are in the ground and you’re looking forward to large, healthy plants with tons of ripe, juicy tomatoes, you’ve got to have strong support for them. I’ve tried many methods including…

  • letting them just lie on the ground,
  • staking,
  • those small cone-shaped cages (worthless!) and
  • trellising of some sort.

The best method I’ve found and have used for many years are large cages built from concrete reinforcing wire. I got the idea from reading Charles Wilber’s How to Grow World Record Tomatoes.

The following video shows how I make these strong tomato cages and talks some about the benefits of this method.

Here’s to growing great tomatoes!!!

What’s the best method you’ve used for supporting your tomato plants?

Posted in Gardening | Tagged , , , , , , , , , , , , , , | 2 Comments